Professional Plumbing Services in Norwich
E-mail us: viktors.plumbing@gmail.com
24 Hour Emergency Plumbing Service

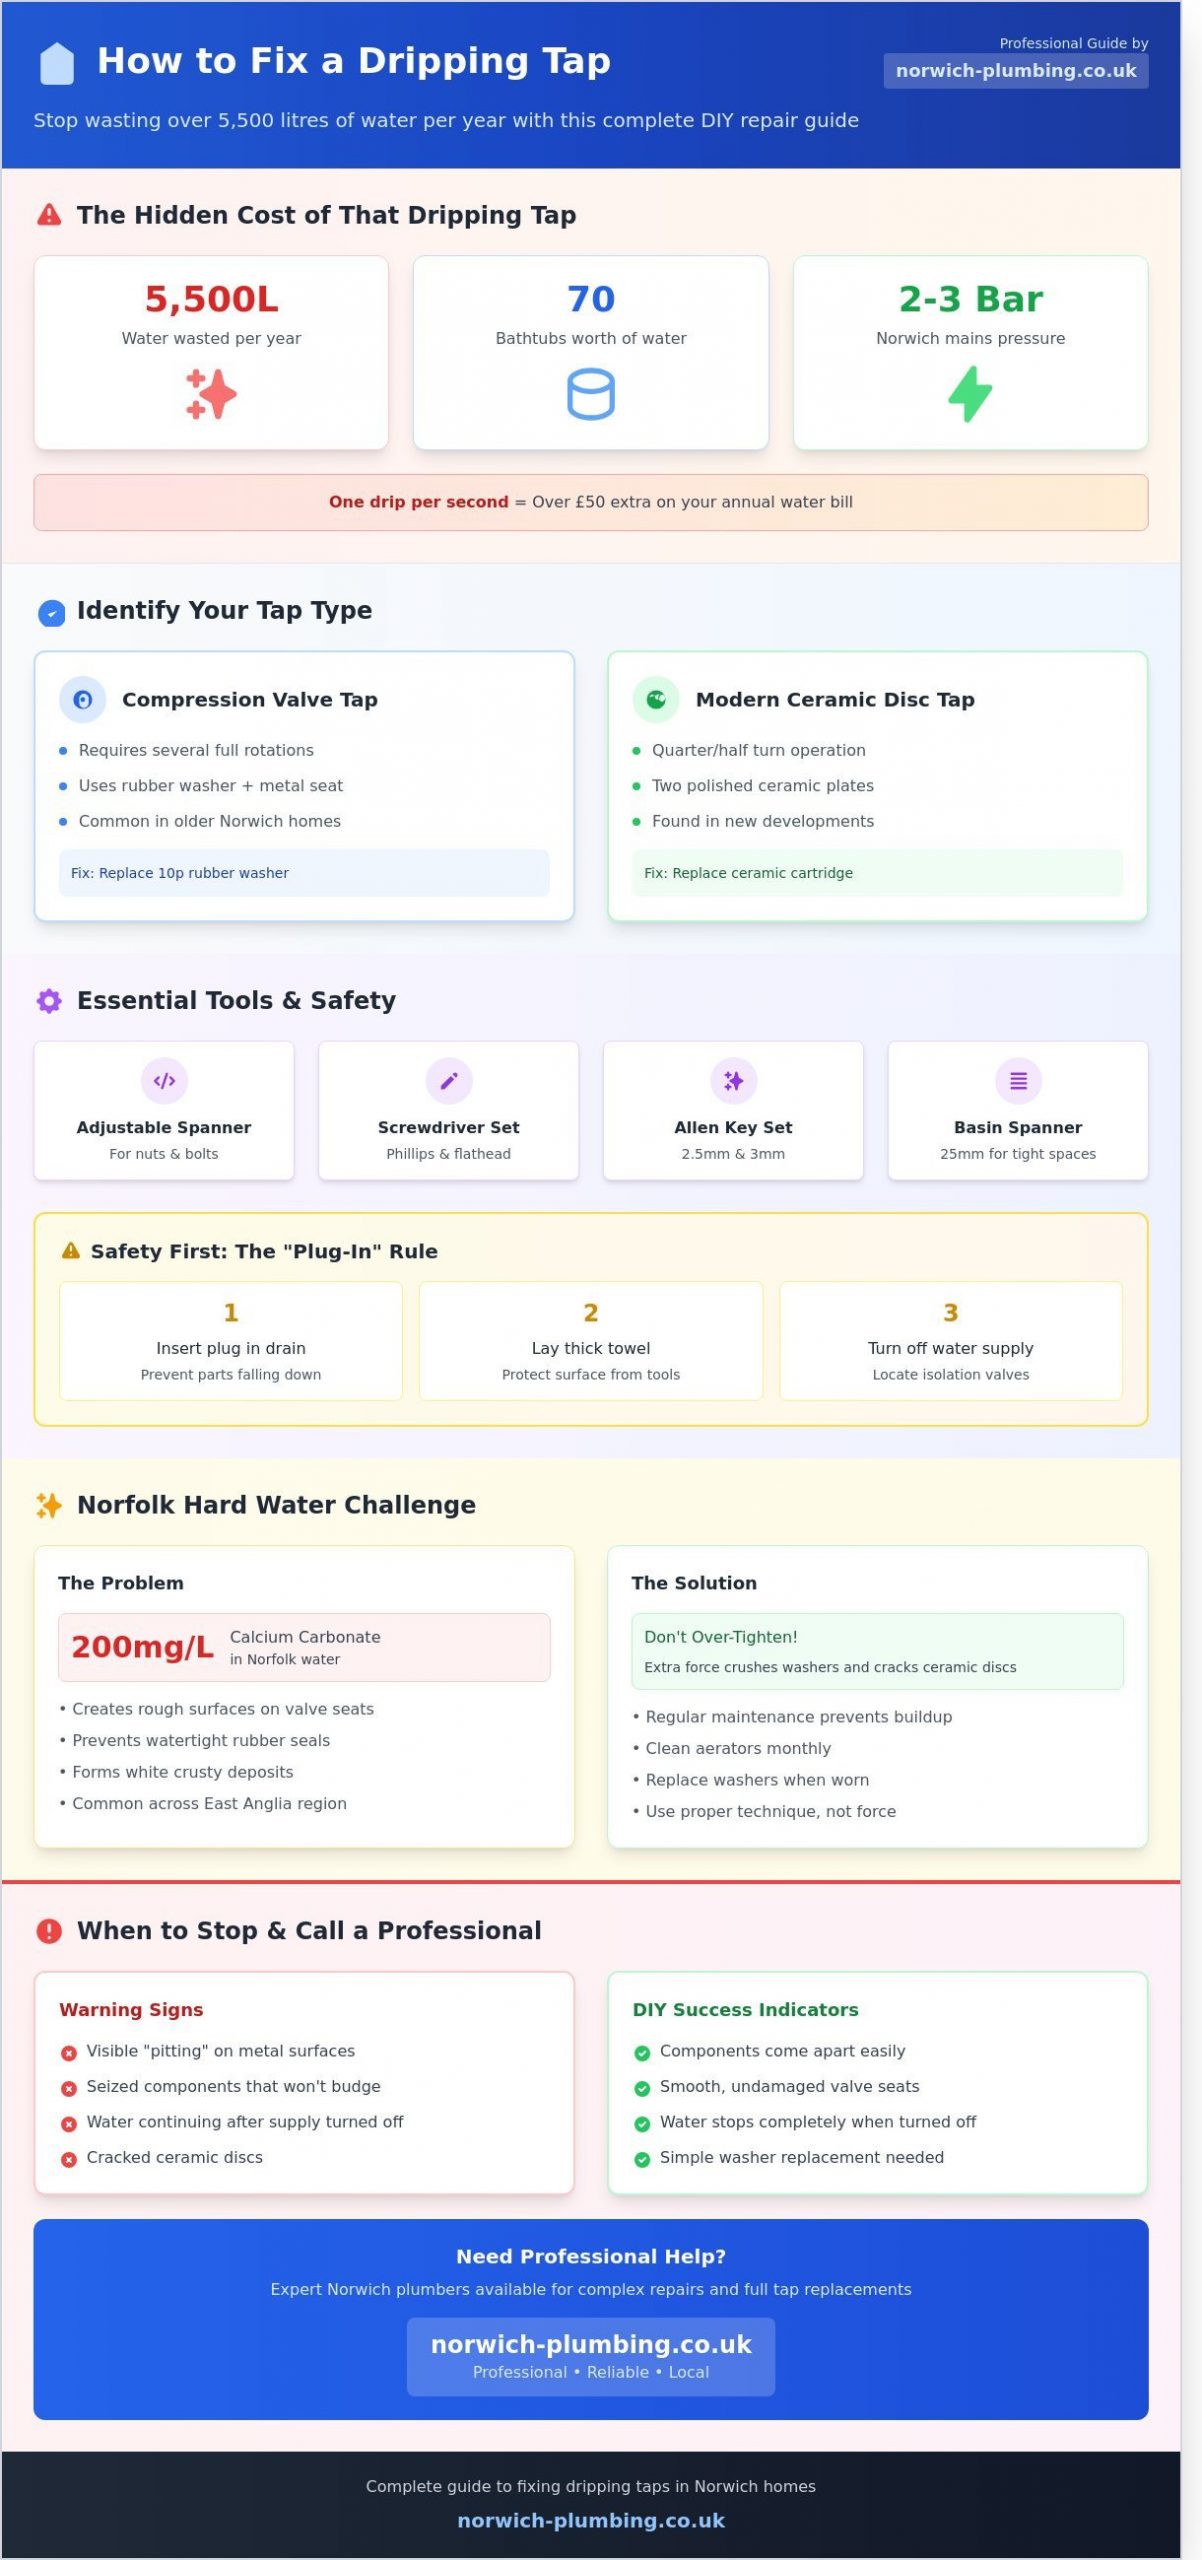
A single leaking tap can waste more than 5,500 litres of water over 12 months. That is enough to fill roughly 70 bathtubs, and every drop is likely adding unnecessary costs to your quarterly water bill. We understand how frustrating that constant rhythm is when you are trying to sleep in your Norwich home. It is perfectly normal to feel a bit nervous about touching your plumbing, especially if you are worried about causing a leak or damaging an expensive basin.
This guide shows you exactly how to fix a dripping tap using basic tools and a bit of local know-how. You will learn how to identify the specific type of leak, dismantle the internal components safely, and carry out a reliable repair. We aim to give you the confidence to maintain your home while ensuring you know exactly when a job requires a professional hand. We will cover everything from changing a 10p washer to deciding if a full tap replacement is a better investment for your kitchen or bathroom.
Your tap is a precision-engineered valve designed to hold back significant mains pressure. In the Norwich area, mains pressure often fluctuates between 2 and 3 bar. When the internal seal fails, this pressure finds the path of least resistance. Learning how different types of taps work is the first step toward a dry sink. Most homeowners want to know how to fix a dripping tap because that constant sound is both annoying and expensive.
That rhythmic “drip-drop” costs more than just your sleep. A single tap dripping once per second wastes over 5,500 litres of water every year. That’s enough to fill 70 standard bathtubs. For Norfolk residents on a water meter, this waste directly impacts your quarterly bill. It’s a drain on the local environment and your wallet. Fixing it promptly is the responsible choice for any homeowner, and it’s just one part of maintaining your home’s plumbing system properly. Following a comprehensive plumbing maintenance checklist can help you spot these issues before they become costly problems.
East Anglia is famous for its hard water. Calcium deposits build up inside your pipework and fixtures constantly. These minerals create a rough surface on what should be a perfectly smooth valve seat. Once the surface is uneven, the rubber washer cannot form a watertight seal. This is why how to fix a dripping tap is such a common search term for people living in the East of England.
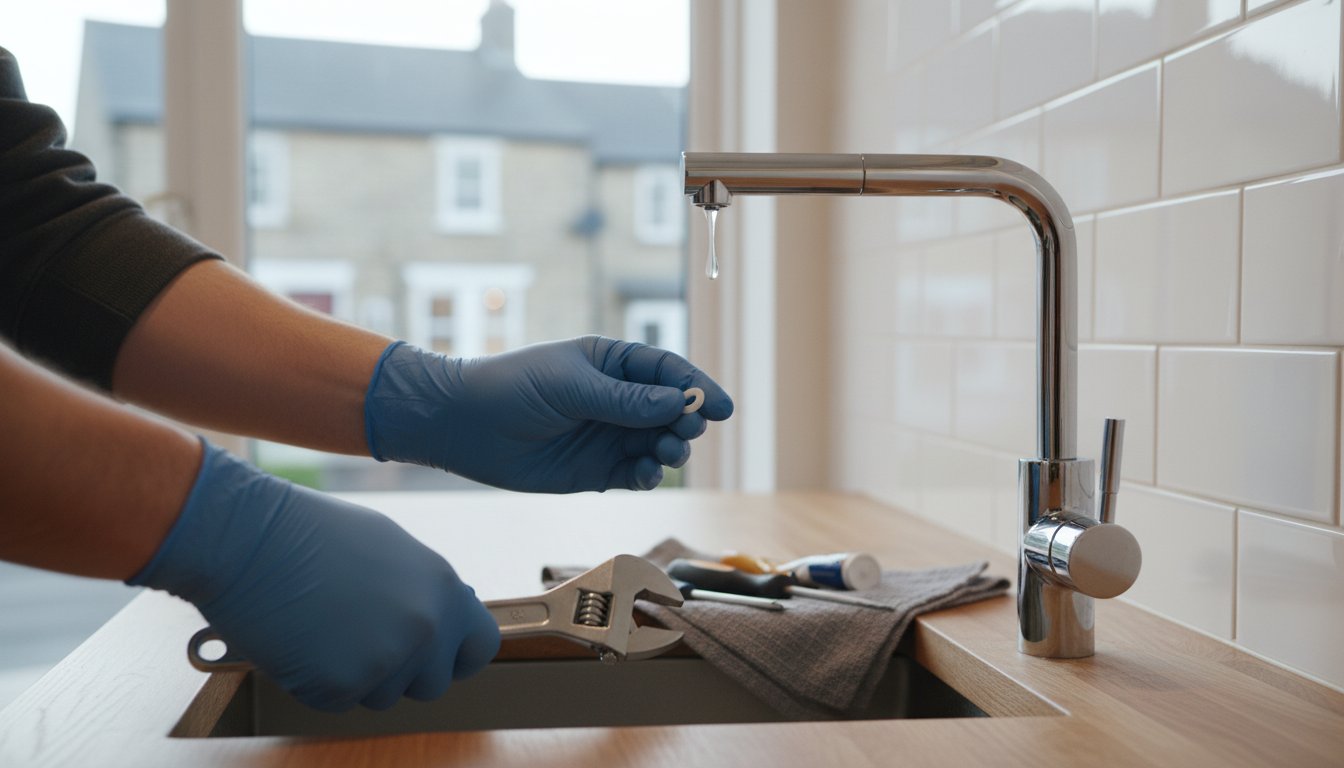
Look closely at the leak before you reach for your toolkit. Water coming from the end of the spout indicates a failed washer or a worn ceramic cartridge. If water seeps from under the handle or the decorative cover, the issue is likely a worn O-ring or a loose gland nut. Identifying the source of the leak ensures you buy the correct replacement parts the first time.
Traditional compression taps require several full rotations to open. They rely on a rubber washer being pressed against a metal seat. Modern ceramic disc taps, frequent in new Norwich developments, only require a quarter or half turn. These use two polished ceramic plates to control the flow. Monobloc mixers use a single lever for both hot and cold. These usually contain a single replaceable cartridge rather than individual washers.
Norfolk water often contains over 200mg of calcium carbonate per litre. This mineral content settles around the aerator and inside the valve body. You’ll see white, crusty deposits forming where the water exits. Many people try to stop the drip by tightening the handle with extra force. This is a mistake. It crushes the rubber washer and can even crack a ceramic disc. This makes the eventual repair more difficult and expensive.
Repairing a leak isn’t just about stopping an annoying sound; it’s about efficiency and conservation. Official data suggests that a leaky faucet can waste more than 3,000 gallons per year. To put that into a local perspective, that is enough water to fill a standard British bathtub approximately 68 times. Before you dive into the specifics of how to fix a dripping tap, you must organise your workspace to prevent a simple 15-minute job from turning into a weekend-long headache.
The first rule of any bathroom or kitchen repair is the “plug-in” rule. Always ensure the plug is firmly in the waste hole before you pick up a tool. Small grub screws and washers are notorious for falling into the basin and vanishing down the drain. Once the drain is blocked, lay a thick, dry towel over the ceramic or stainless steel surface. This provides a soft landing for heavy tools and prevents metal spanners from leaving permanent scratches on your expensive sanitaryware. A tidy workspace reduces stress and keeps your components visible and organised.
Gathering a basic “British Plumbers Kit” ensures you won’t have to stop halfway through the repair. You will need an adjustable spanner and a set of screwdrivers, including both Phillips and flat-head varieties. Most modern taps use a 2.5mm or 3mm Allen key to remove the handle, so check your tap’s fixings beforehand. A 25mm basin spanner is a lifesaver for taps located in tight spaces behind the pedestal where a standard wrench cannot reach. Finally, keep a roll of PTFE tape and a small tub of silicone grease ready. These items are the secret to achieving a professional, watertight seal when you reassemble the internal components.
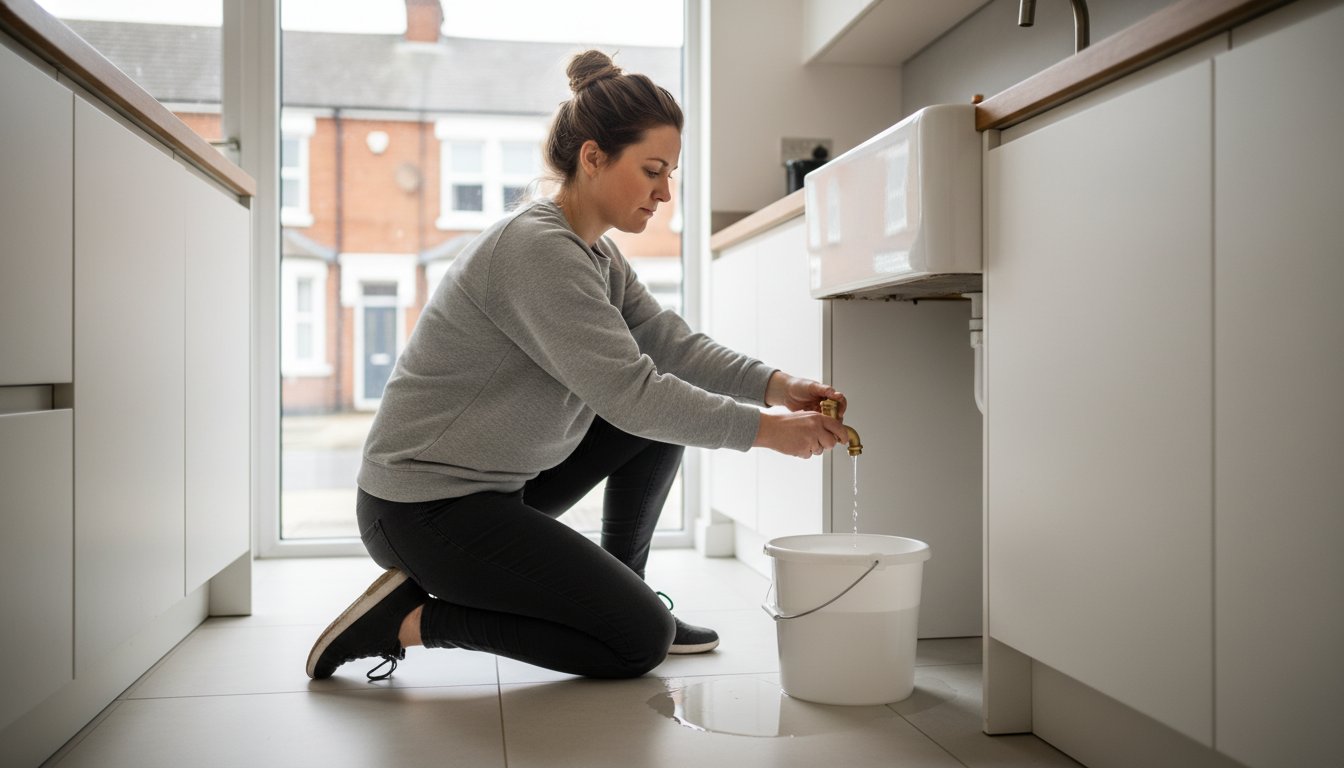
Safety starts with controlling the water flow. Look beneath the sink or basin for the service valves. These are usually small, chrome-plated fittings on the copper or flexible pipes. Use a flat-head screwdriver to turn the slot 90 degrees until it is perpendicular to the pipe. If your plumbing system lacks these local valves, you must locate the mains stopcock. In 85% of Norfolk homes, this is found under the kitchen sink or in a hallway cupboard. Turn the handle clockwise firmly until it stops to shut off the primary supply.
Never assume the water is off just because you turned a valve. Open the tap fully and wait. You might see a brief trickle as residual water leaves the pipework, but the flow should stop completely within 30 seconds. If water continues to pour out, your isolation valve may be faulty. If you find your valves are seized or won’t fully shut off the flow, the experts at Norwich Plumbing can provide a quick and reliable solution to get your system back in order. Once the tap is dry and the water is confirmed off, you are ready to begin the dismantling process.
Compression taps are the traditional fixtures found in many older Norwich homes. They operate by using a screw mechanism to press a rubber washer against a metal seat. When this washer wears down, water escapes, leading to that persistent drip. Learning how to fix a dripping tap of this variety is a vital skill for any homeowner. It saves money on water bills and prevents the frustration of constant noise. A single leaking tap can waste up to 12 litres of water every 24 hours, so acting quickly is essential.
Start by removing the decorative cap on top of the handle. These are often marked with ‘H’ or ‘C’ and are held in place by a small screw or a simple friction fit. Use a flat-head screwdriver to gently pry the cap off. Once removed, you’ll see a central screw. Undo this and pull the handle upwards to reveal the valve headgear. If the handle feels stuck, don’t force it. A small amount of penetrating oil can loosen years of limescale build-up in seconds.
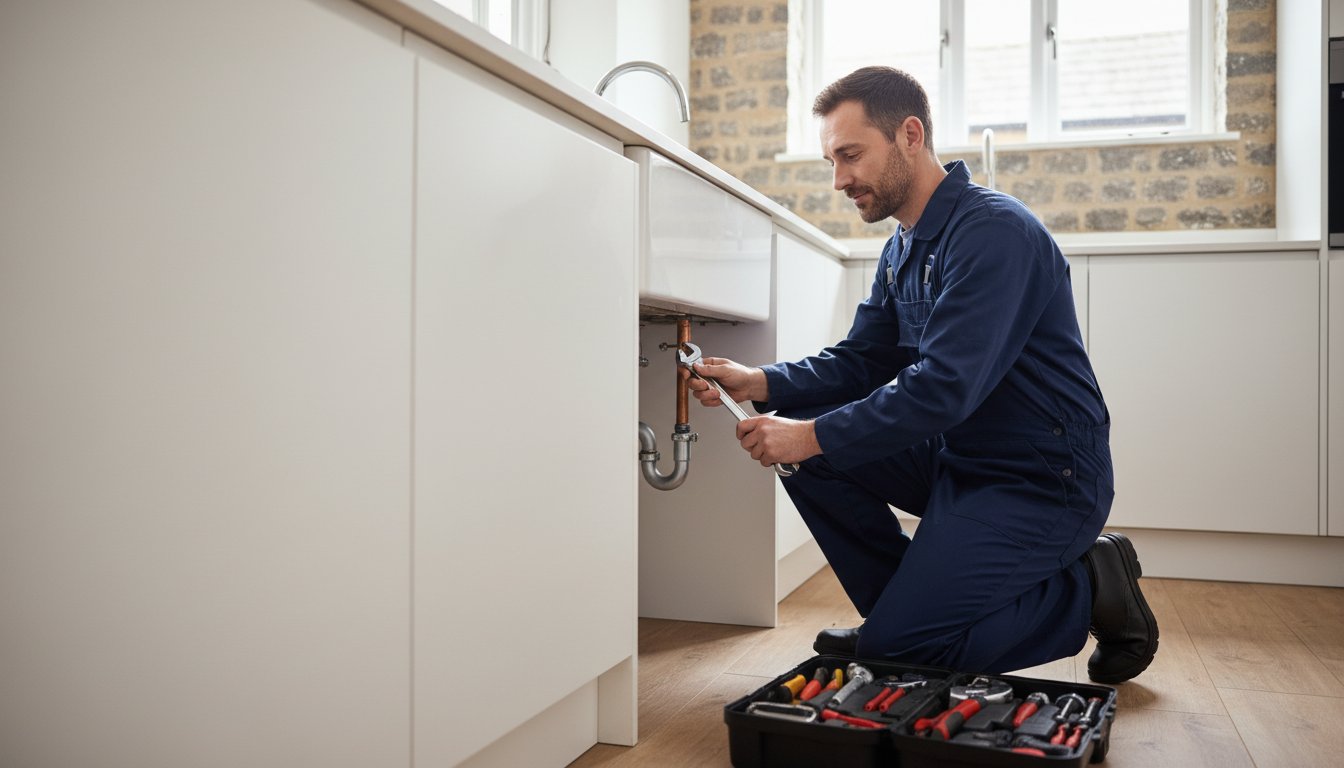
To unscrew the headgear, you’ll need an adjustable spanner. It’s crucial to use one hand to hold the tap body firmly while you turn the spanner with the other. If you fail to support the tap, the torque can twist the entire unit, potentially snapping the copper pipework beneath the sink. This turns a five-minute repair into a major plumbing emergency. Once the headgear is loose, wind it out by hand. You’ll now see the jumper and the washer at the base of the valve assembly.
Before you buy replacements, identify the correct size. In the UK, most basin and kitchen taps use a 1/2 inch (12.7mm) washer. Larger bath taps usually require a 3/4 inch (19mm) version. Take the old washer to a local hardware store in Norfolk to ensure an exact match. While the tap is dismantled, inspect the internal “seat”. This is the rim where the washer rests. If it feels rough or pitted, use a damp cloth to wipe away debris. A clean seat is the only way to ensure a perfect, watertight seal.
Removing a perished washer can be tricky if the rubber has hardened over time. Use a pair of needle-nose pliers to pull it off the metal jumper. If it’s truly stuck, carefully slice through the rubber with a utility knife. When fitting the new part, ensure it sits perfectly flat. For a professional finish, apply a thin layer of WRAS-approved silicone grease to the headgear threads. This protects the metal and makes future maintenance much easier. For a visual guide on these steps, you can follow this expert advice on how to replace a tap washer to ensure your repair lasts for years.
If water leaks from under the handle rather than the spout, the issue is likely a faulty O-ring or worn gland packing. This is a common problem we see across Norwich, especially in high-use kitchen sinks. To fix this, slide the old O-ring off the spindle and replace it with a fresh one from a standard plumbing kit. If the threads themselves are slightly worn, you can use PTFE tape as a reliable temporary fix. Wrap the tape tightly around the spindle threads four or five times in the direction of the screw. This provides enough bulk to stop the leak until you can install a permanent replacement valve. Understanding how to fix a dripping tap stem ensures you’re prepared for any leak, big or small.
Modern monobloc and mixer taps operate using ceramic disc cartridges rather than traditional rubber washers. These components consist of two highly polished ceramic plates that slide over one another to control water flow. Because these discs are precision-engineered, they cannot be repaired if they become cracked or scored by grit. If you find your tap continues to leak, you must replace the entire cartridge unit. Learning how to fix a dripping tap with ceramic internals is a straightforward process, provided you identify the correct replacement part before starting the job.
Debris in the pipework is the primary cause of ceramic valve failure in Norwich homes. Even a microscopic grain of sand can scratch the ceramic surface, breaking the watertight seal. Before you install a new valve, you must clean the internal tap body. Use a soft cloth or a small brush to wipe away any limescale or grit from the “seat” where the cartridge rests. This 10-minute cleaning step prevents your new £15 cartridge from failing prematurely.
Start by isolating the water supply. You need to access the hidden grub screw that holds the handle in place. This is usually tucked behind the small red or blue plastic indicator button. Use a 2mm or 2.5mm Allen key to loosen this screw. Once the handle is off, use a 17mm or 24mm spanner to unscrew the brass cartridge. If the unit is seized due to hard water deposits, apply a penetrating oil and wait 15 minutes. Avoid using excessive force, as this can snap the internal pipework under the sink.
Accuracy is vital when purchasing a new valve. There are over 40 different cartridge variations currently used in the UK market. You must count the “splines” on the top of the stem. These are the small teeth that grip the handle. A 20-spline count is common, but 28-spline versions are also frequent in modern installations. If the count is wrong, your handle will not fit. Measure the total length and the width of the threaded section using a millimetre ruler to ensure a perfect match.
While understanding how to fix a dripping tap is a useful skill for any homeowner, some cartridges become so calcified that they refuse to budge. If you cannot remove the brass nut without the entire tap spinning on the basin, it is time to call in a professional. We provide expert assistance for stubborn repairs throughout the Norfolk area. If your tap is seized or you cannot find the matching part, contact our dependable Norwich plumbers to restore your kitchen or bathroom today.
Knowing when to stop is the mark of a sensible DIYer. Even if you follow every step on how to fix a dripping tap, some issues sit beyond a simple washer replacement. Look closely at the valve seat inside the tap body. If you see small craters or “pitting” in the metal, the tap body itself has eroded. A new seal cannot form a watertight bond against an uneven surface. In these cases, 85% of attempts to reseat the tap manually fail to provide a long-term fix because the structural integrity of the brass is compromised.
Force is often the enemy of plumbing. If a nut refuses to budge after a reasonable application of a spanner, stop immediately. Applying excessive torque can easily snap the copper tailpipes or twist the entire assembly underneath the sink. This turns a minor drip into a major flood. High-end designer taps also present unique challenges. Brands like Franke or Perrin & Rowe often require specific ceramic cartridges that aren’t stocked in local DIY shops. Attempting a generic fix on a £400 designer tap often voids the manufacturer’s warranty. This is the point where transitioning to a professional kitchen tap installation becomes the most cost-effective choice.
If a difficult tap replacement is part of a wider plan to update your entire kitchen, it’s wise to seek expert advice. For homeowners considering a full renovation, seeing what professional kitchen fitters castleford can achieve provides excellent inspiration, even if you’re planning a project elsewhere in the UK.
Ensuring all fixtures are in perfect working order is also a key step when preparing a property for the market, as small faults can deter potential buyers. For more insights into what buyers are looking for in a home, you can visit Spire Vue Estates for a comprehensive guide.
A minor drip can escalate into an emergency leak repair in seconds if a valve is cross-threaded. Cross-threading occurs when the fine metal grooves of the tap body are stripped by forcing a component in at the wrong angle. Once this happens, the entire tap usually requires replacement. While learning how to fix a dripping tap is a useful skill, the financial risk of a mistake often outweighs the potential savings. Consider the cost-benefit ratio carefully. Buying a high-quality adjustable wrench and a set of box spanners can cost upwards of £45. When you add the price of replacement parts and the risk of property damage, hiring a general plumber in Norwich often saves money. For complex installations or when replacing an entire unit, seeking professional kitchen tap installation services ensures the job is completed safely and to the highest standards.
Viktor’s Plumbing Services has supported the Norwich community since 2012, ensuring local homes stay warm and dry. We provide a one-year labour warranty on every fix, which is a standard we’ve upheld for over a decade. Our team operates with a “no job too small” philosophy. Whether it’s a single stubborn washer or a full bathroom suite installation, we treat every task with the same professional rigour. You’ll receive a free, transparent quote within 24 hours of your enquiry. This ensures there are no hidden surprises or unexpected costs. We’ve served over 1,500 local residents across Norfolk, building a reputation for punctuality and honest, expert advice. If your tap is still dripping, contact us today for a permanent solution.
Understanding how to fix a dripping tap helps you manage small leaks before they impact your monthly water bill. You now know the difference between traditional compression valves and modern ceramic discs; you also have a list of the essential tools required for a safe repair. While many minor leaks are manageable, some plumbing issues require a professional touch to ensure a long term solution. Regular maintenance checks can help prevent these issues from developing in the first place, and following a comprehensive plumbing maintenance checklist ensures your entire system remains in optimal condition year-round. We bring 20 years of local experience across Norfolk to every job we attend. Our team provides a full one-year labour warranty on all repairs, so you can feel confident that the work is finished to a high standard. If a leak turns into an urgent problem, we offer 24/7 emergency support to keep your home running smoothly at any hour.
Don’t let a small drip become a major headache. Book a reliable Norwich plumber for your tap repair today and enjoy a leak-free home. We’re ready to help whenever you need a hand with your local plumbing needs.
Your tap likely has a damaged or “pitted” valve seat that prevents the new washer from sealing correctly. Even a small 1mm scratch on the metal seat allows water to bypass the rubber. You can use a seating tool to grind the surface smooth or replace the entire tap if the damage is deep. Sometimes, the O-ring at the base of the valve is the actual culprit rather than the washer itself.
You cannot safely fix a dripping tap without turning off the water supply first. Opening a tap under pressure will cause immediate flooding, potentially releasing 10 litres of water per minute into your kitchen or bathroom. Locate the isolation valve under the sink or turn off the main stopcock. Always test the tap after turning the water off to ensure the pipes are completely empty before you start.
A professional repair for a dripping tap in Norwich typically costs between £60 and £95 depending on the specific parts required. Most local plumbers charge a fixed 1-hour minimum rate for small domestic jobs. At Norwich Plumbing, we provide transparent pricing and free no-obligation quotes for all Norfolk residents. This ensures you know the exact cost before we begin work on your plumbing system. We believe no job is too small.
Traditional taps use a rubber washer that compresses against a metal seat, while modern “quarter-turn” taps use two sliding ceramic discs. Ceramic discs are more durable and typically last 5 to 10 years without maintenance. Unlike rubber washers that perish over time, ceramic cartridges usually require a full replacement rather than a simple part swap. You can identify them because they only turn 90 degrees to fully open.
You determine the size by measuring the internal diameter of your pipework or checking the specific tap type. Standard UK bathroom and kitchen basin taps almost always require a 1/2 inch (12.7mm) washer. If you are working on a bathtub, you will likely need a 3/4 inch (19mm) version. We recommend buying a multi-pack of assorted washers for approximately £3 to ensure you have the correct fit on hand before you start.
A leak at the base of the spout indicates that the internal O-rings have perished or snapped. These small rubber loops sit inside the spout assembly to prevent water from escaping sideways. Learning how to fix a dripping tap often involves replacing these 2mm rubber rings rather than the main washer. Apply a small amount of silicone grease to the new O-rings to ensure a smooth, watertight movement when you reassemble the unit.
A single dripping tap isn’t typically a plumbing emergency, but it can waste 5,500 litres of water per year. This adds roughly £20 to £30 to your annual water bill if you use a meter. However, if the leak is a constant stream or if water is leaking into your cabinetry, call a Norwich plumber immediately. Rapid water loss can damage floorboards and cause mould growth within 48 hours if left unaddressed.
A beginner should set aside 30 to 45 minutes to complete the repair from start to finish. This timeframe includes 10 minutes to isolate the water and 20 minutes for the actual disassembly and part replacement. If the tap is seized due to limescale, it might take an extra 15 minutes to carefully loosen the headgear. Having the right tools, like an adjustable spanner and a screwdriver, makes the process much faster and safer. If you’re experiencing weak flow alongside your dripping tap, you might also want to learn how to improve low water pressure to ensure your entire plumbing system is working efficiently.
[…] over 5,000 litres of water a year, so it’s a priority fix. If you find a leak, our guide on how to fix a dripping tap provides a clear walkthrough for local homeowners. Additionally, unscrew your tap aerators once a […]
[…] directly impact flow rates and user satisfaction. If your taps are clear but the flow remains weak, fixing a dripping tap can sometimes improve overall system stability by ensuring valves seal […]
[…] washers and ceramic disc failure are the two most common reasons for a leaking tap. You should fix a dripping tap before the constant moisture causes your vanity unit to swell or rot. We also provide professional […]